RUSH ORDER OR NEED HELP? CALL +1 (732) 903-8754

  • Login/Register

    I already have an account here

    Lost password?
    New Customer ? Sign up

  • My Wishlist
Wall Woodworks Company
  • Kids
  • Anniversary
  • Weddingshot
    • Hand-Made
    • Engraved
    • Photo Puzzles
  • Business
  • Christmas
  • Contact Us
Mini Cart 0 items - $0.00
  • No products in the cart.
Shop by category
  • Wedding Puzzles
  • Hand-Made
  • Engraved
  • Kids Puzzles
  • Custom Photo Puzzles
01 Jul

Hope Chest – Cedar

by jasonwall In: Restorations
This is the finished product.
 Cedar Hope Chest 1 by - Wall Woodworks Co Cedar Hope Chest 10 by - Wall Woodworks Co Cedar Hope Chest 9 by - Wall Woodworks Co Cedar Hope Chest 8 by - Wall Woodworks Co Cedar Hope Chest 7 by - Wall Woodworks Co Cedar Hope Chest 6 by - Wall Woodworks Co Cedar Hope Chest 5 by - Wall Woodworks Co Cedar Hope Chest 4 by - Wall Woodworks Co Cedar Hope Chest 3 by - Wall Woodworks Co Cedar Hope Chest 2 by - Wall Woodworks Co

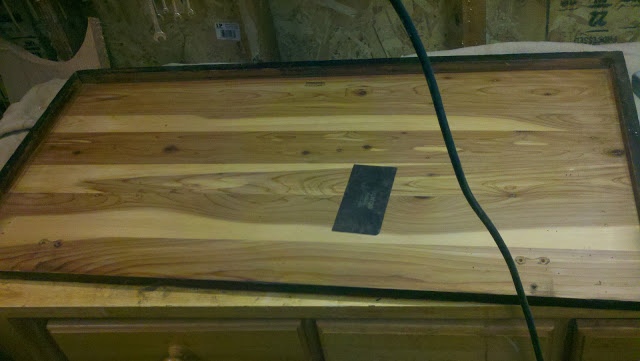
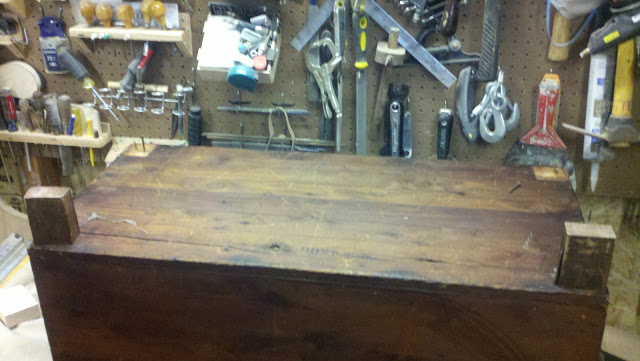
Many years back a hope chest or marriage chest was used to store linens at the foot of the bed. These chests typically were lined with cedar or completely made of cedar to keep the moths and bugs out. Most bugs despise the aroma cedar gives off. And moths loathe the natural oils in the wood. With this chest there was no clear coat on the inside. The outside however was stained and had some sort of clear coat on it.

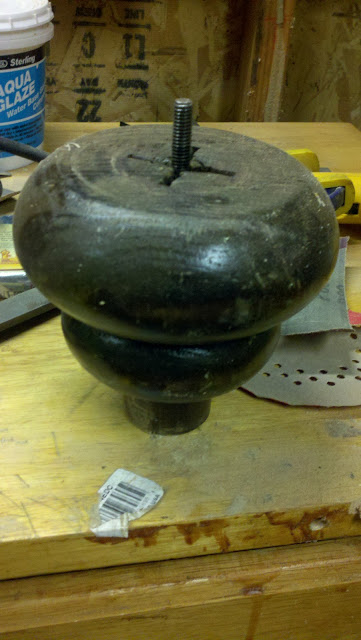
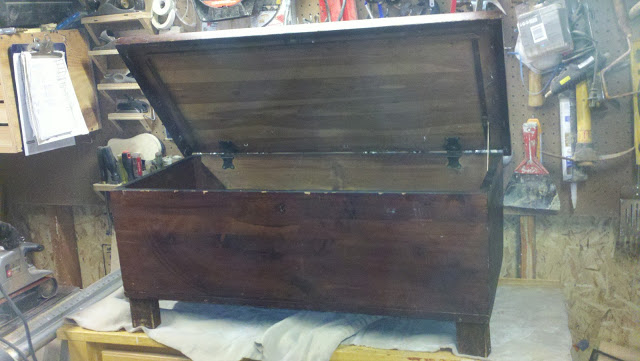
The idea for this restoration was to simply keep the chest in its original state on the outside, but I wanted to sand the inside completely. This would bring back the scent of cedar. Smells so good. In addition I needed to use some reclaimed bun feet to replace the poorly fastened original feet.

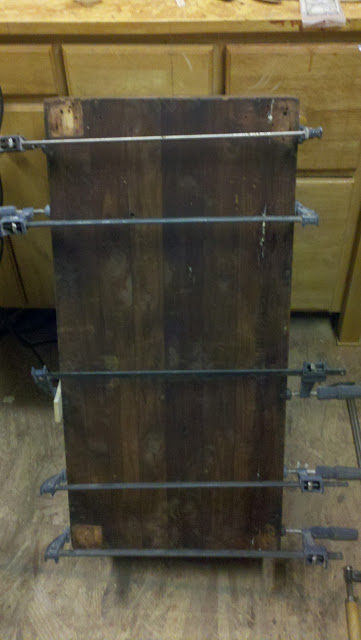
This is what I got to start with:


The first step was to remove the top, all the hardware, and remove the old legs.
There were five different types of fasteners used to hold the old legs on, some rusty screws, 2 different types of trim nails, a sheathing nail, and an aluminum roofing nail (what was this person thinking?). The feet themselves were the same dimensions as a 2×4 so I seriously doubt the original feet were put on by the person that made the cedar chest.
To get the legs off I had to split the old feet like pieces of firewood. Using the end of a hammer like a hatchet and with another hammer you can split pretty much any piece of wood, especially dry wood. If I would have tried to just yank the nails out the cedar would have split and damaged the case even further.
From there I put the case aside and started sanding and scraping the inside of the top. What an inspiration that was! Once I was finished with polishing with a card scraper the cedar looked amazing!

From there I had to fix some cracks which involved spreading the cracks open wide enough get glue in them then clamping them together and letting the glue dry.

While the glue was drying I started sanding the bun feet down to the bare wood. Unfortunately I don’t have a lathe. That would have been the optimal way to sand these. So instead I clamped a corded drill to the workbench and stared going at it. Improvisation… what can I say! This took a while.
Once the bun feet were sanded I had to lop off the bottom profile of the foot. The client didn’t want it there. So off it came. After that I had to mix a couple stain colors to get the right match in color. Then it was five coats of satin finish, with sanding in between coats. I sanded the inside of the box, touched up the dings and scratches with dabs of stain. I installed all the bun feet after they were dry. Put all the original hardware back on (all the while resisting the urge to take them to the polishing wheel to make them look brand new.) Having the original patina on old hardware re-emphasis that this is an antique.

Finally to finish everything up I put a light coat of satin finish on the whole outside of the case to give it a little protection. Satisfaction is mine! Another great piece that crossed my work bench and was brought back to life at Wall Woodworks!

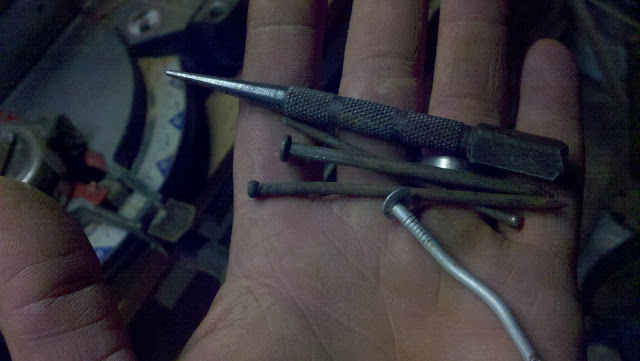
Note: When I took the mortised in lock out of place to sand the inside of the box there was a little lonely screw hiding in the lock. Which was really cool since one of the hinges was missing a screw.

Share

Policies

  • Privacy Policy
  • Product Policy
  • Copyright Notice

Services

  • Overview
  • Contact Us
  • Our FAQ

Social

  • Journal
  • Facebook
  • YouTube
  • Twitter

Groups

  • About Us
  • The Artists
  • Non-Profits
  • Companies
  • Home
  • Wood Puzzle Shop
  • Cart
  • Checkout
  • Journal
  • About Us
  • Contact Us
  • Questions – FAQ
  • The Artists

Ⓒ 2022 Wall Woodworks Company

X